
You will need...
- A large blue sheet
- cardboard
- 2 long white wigs
- Yellow Paint
- Red Paint
- Black Paint
- Sewing Machine or someone that has one
The Crown
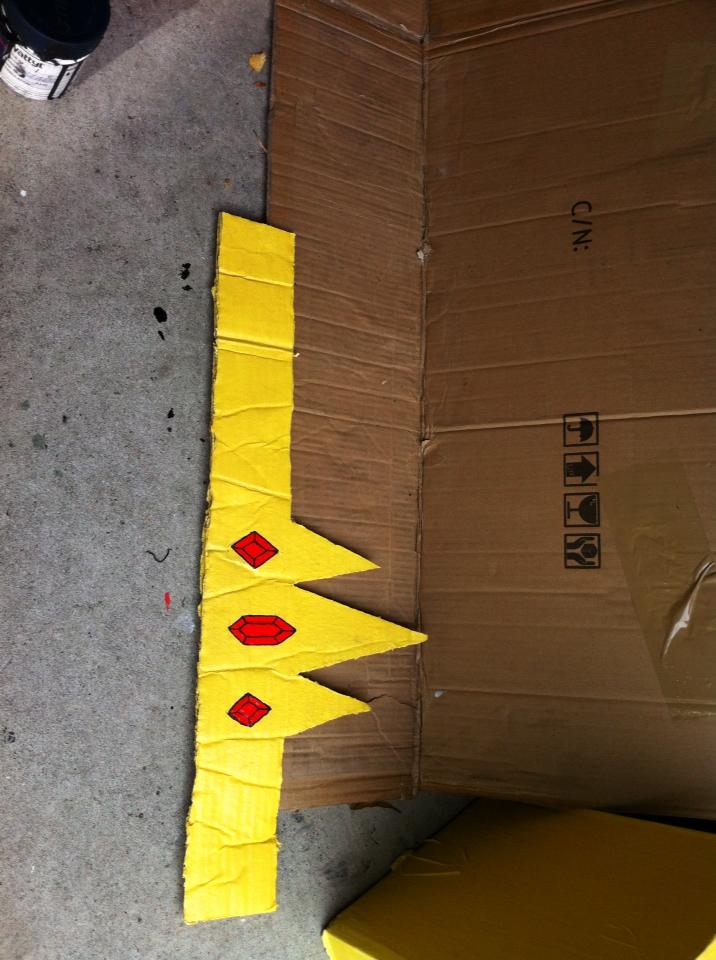
This is our crown almost finished. Pretty much all we did was measure our 'actors' head and then add 2 cm to each side. We drew the crown 'pattern' from a drawing on the king, cut it out and painted it yellow. You have to make sure that after the paint has dried that you bend the cardboard (You can see the places I've bent it by the lines in the cardboard) It's important that you do this occasionally so that the crown has movement when it comes to putting it on, and it will be more round rather than 'blocky'.
The gems, I drew on and then were painted red and the black lines were added to make them look 'gem like'
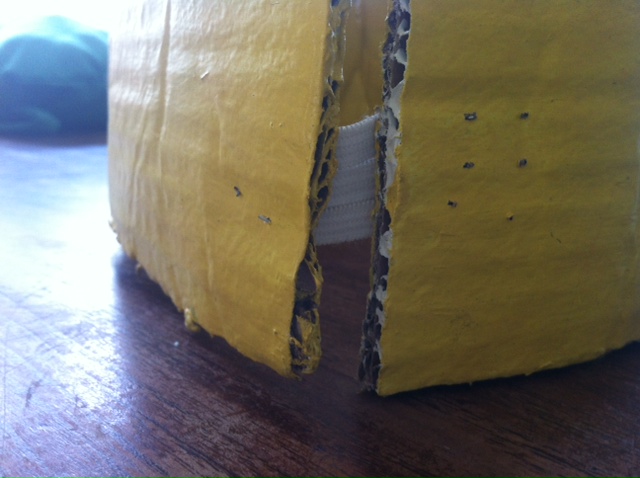
After that we joined the two sides together with elastic, so that the crown can stretch if it needs to. We secured it with staples and then tape.


The Robe

This is what you will need to to do your sheet.
Double it over, so when you sew it up, it will actually be a robe/dress. Measure your 'actor' but with this one it doesnt really matter because it is meant to be baggy. Pin it to this shape and cut the neck hole out and the two strips on the side, so it looks the like picture below.
Sew along the top and bottom of the sleves, leaving it open at the end for the hands. and along the sides of the 'dress' part leaving the bottom open for the legs and feet!
And thats how we did it!


No comments:
Post a Comment